So, here we go, full-tilt at a dead run into the traditional holiday season. I rejoice to confess that a client for the Tiny Publishing Bidness sent a check for a print run of his books, from which profit allowed Blondie and I to knock off our family gift obligations, all ship-shape and Bristol-fashion, to use an aged metaphor from the days in which the city of Bristol did indeed have a sailing-ship industry. This was performed at my computer, through various websites, and not requiring us to go out anywhere, on a particularly dreary and rainy day. So, yes – observe the power of this fully-functional internet! Neither of us has any motivation to sally out at the crack of dawn, stand in line, and engage in brutal wrestling matches for the privilege of purchasing tacky and excessively marked-down Chinese-manufactured electronic tat. Not even would we stand in line at the crack of dawn to combat for American-manufactured tat … which is why I am grateful for the aforementioned fully-functional internet. Our gifts are edible and/or readable – Fischer and Weiser sauces from Fredericksburg for my sister and bro-in-law, a fruitcake from Corsicana for my brother and his wife, and books for his kidlets ordered from Amazon, which if I know my publishing sources (and I think I do) are also printed and bound in the U S of A.
That fortunate client check also permitted us to sally forth to Sam’s and the local HEB for the final ingredients for the Christmas neighborhood treat; gourmet fudges. Last fall – I think when I did the book-club meeting and walking tour of significant places pertaining to the Adelsverein Trilogy, my daughter was inspired by a visit to a candy-maker in Fredericksburg. Cookies are passé, we’ve explored other avenues in holiday neighborhood gift-giving like homemade bread and cheese, home-brewed herb vinegars and oils … and so my daughter suggested various flavors of home-made fudge, as was available in that Fredericksburg candy shop. We spared no expense in making small batches – real butter, cream, top-market chocolate – and the reception of it all was rapturous.
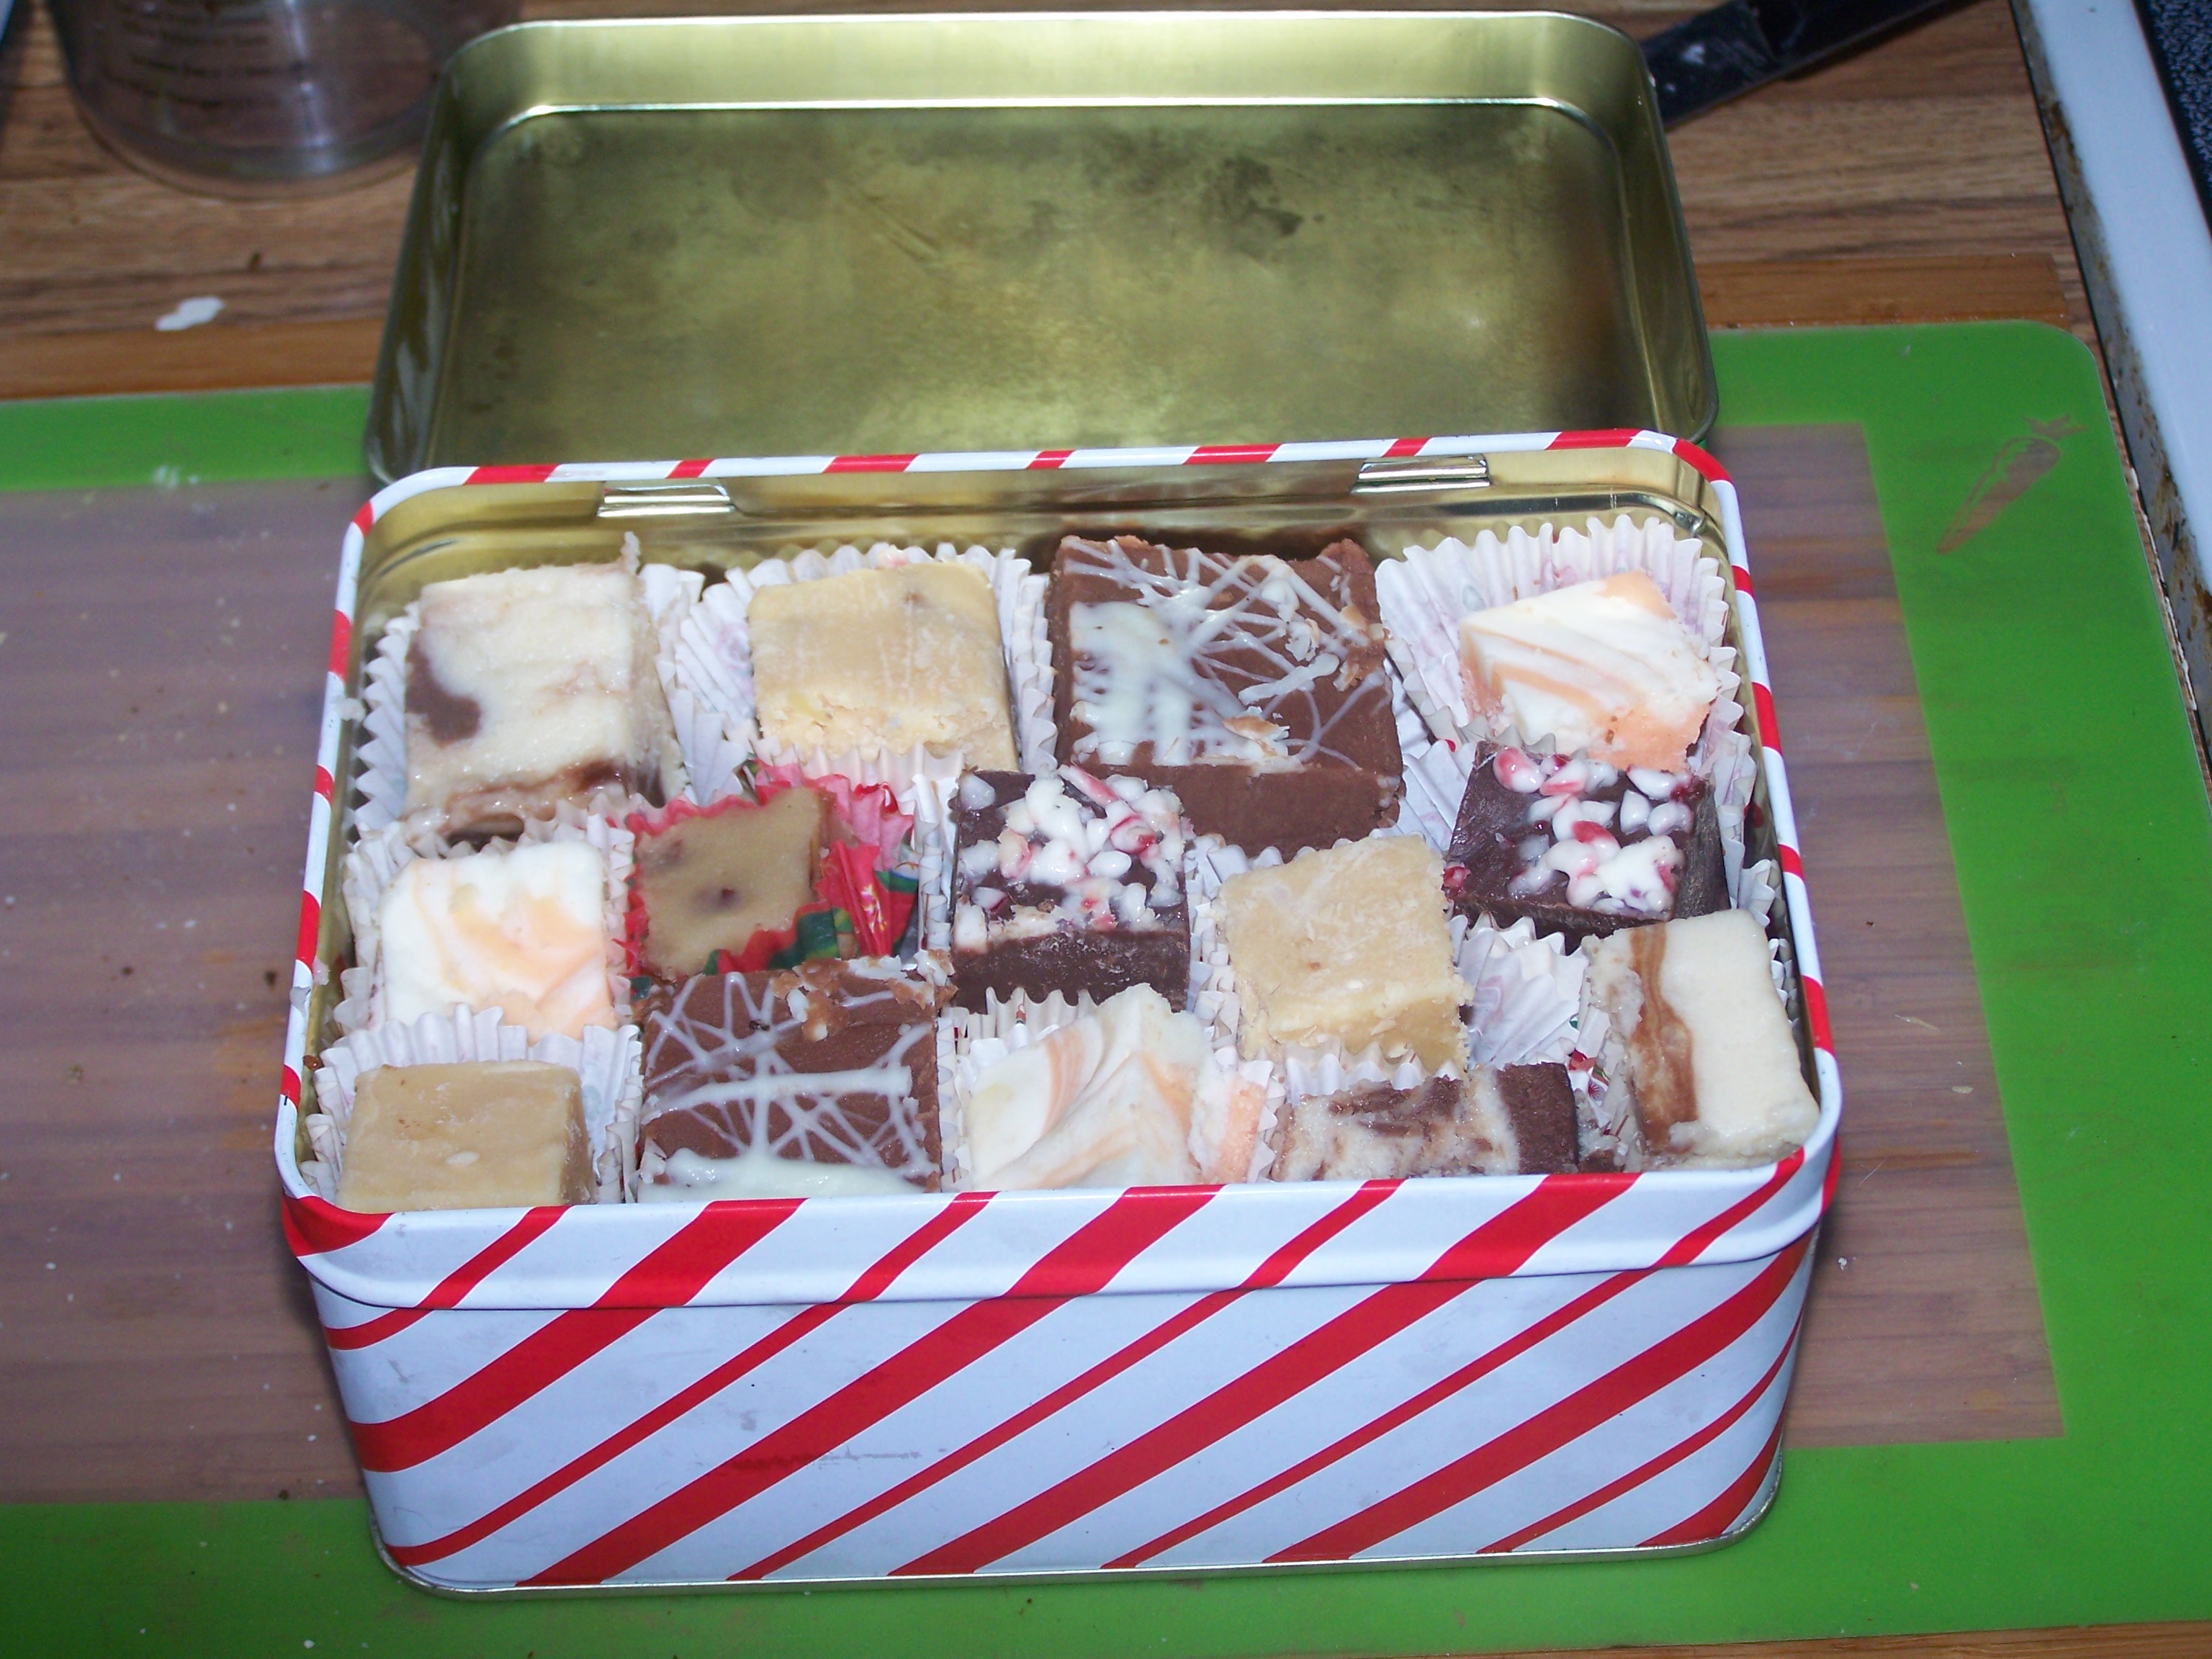
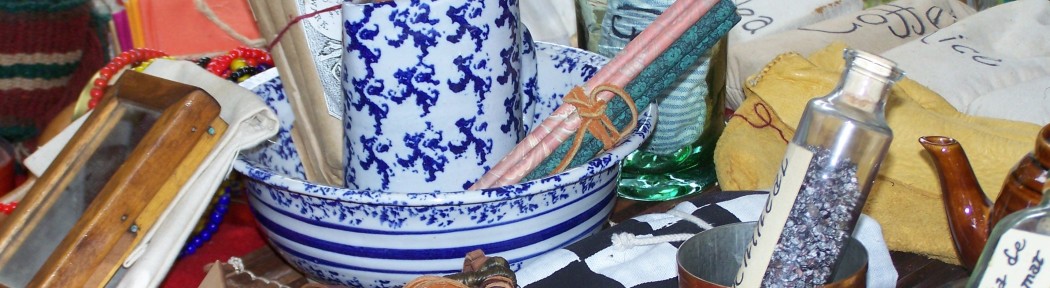
From last year – a representative sample of our neighborhood Christmas gift
Of course, it didn’t really hurt that we doubled some of the recipes gleaned from the internet – which resulted in so much assorted fudge that we were handing it out not just to immediate neighbors and those whom we were on regularly friendly and affectionate terms with … but also forcing it on those whom we had barely a nodding acquaintance. “Hey, we’ve seem you around the neighborhood – here’s a box of fudge! Merry Christmas!” We also had tins of fudge – very nicely presented in tidy paper cups – like the nicer grade of cookies and candy – for the postman, the guys on the garbage truck, the local police, a huge Christmas gift-platter for the local fire-house … you get the idea. In the last couple of weeks, when we’ve been discussing neighborhood Christmas gift obligations, certain neighbors have been hinting rather broadly at their preferences … “Say, y’all going to do that fudge again? That was really good…” So, our duty was obviously clear, aided by the bag full of pretty Christmas tins picked up for a song at the local Super-HEB clearance shelves last year. Yes, we shop strategically with a eye towards long-term requirements – got a problem with that?
This afternoon, we cleared the counters, donned aprons, put Christmas music on the stereo, washed the medium-sized sheet pans, and set to work, making six sorts of fudge – two more batches to go, as soon as we get another bag of walnuts and another of white confectioner’s chocolate tomorrow. We’re looking to distribute it by the end of the week – as next weekend begins the massive Christmas marketing season for us, and we have an event every weekend until Christmas.
So – that’s my Thanksgiving/Black Friday weekend – yours?


Recent Comments